|
|
A professional manufacturer of three-dimensional measuring devices for the on-machine measurement and in-flight measurement |
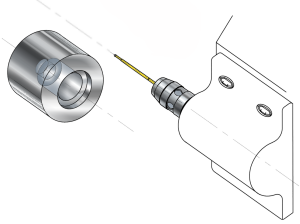
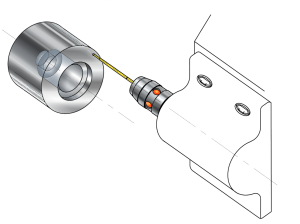
Within NC lathe turning machine, measurement of inner and outer diameter of X axis, taper angle / cylinder degree measurement,
Accurate measurements of deep holes and steps and angle measurement of the C axis can be performed.
For 1/100 mm display caliper and depth caliper, 1 μm can not be measured.
High precision measurement of 1 μm in the machine is possible.
Within NC lathe turning machine, measurement of inner and outer diameter of X axis, taper angle / cylinder degree measurement, Accurate measurements of deep holes and steps and angle measurement of the C axis can be performed.
For 1/100 mm display caliper and depth caliper, 1 μm can not be measured. High precision measurement of 1 μm in the machine is possible.
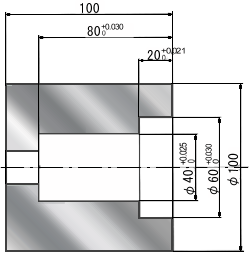 |
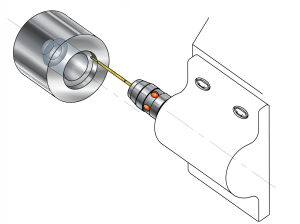
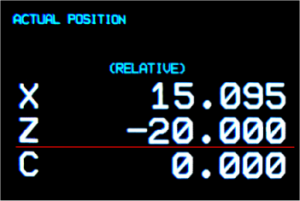
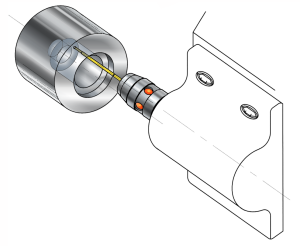
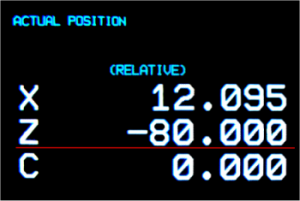
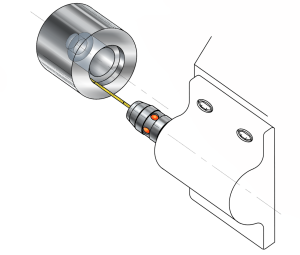
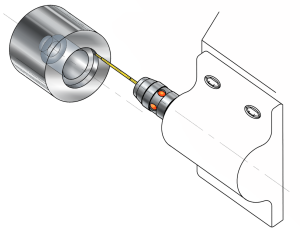
For example, suppose you want to machine the workpiece, such as shown in the figure below in the NC lathe-turning, whether the finished drawing street, to confirm. |
φ60 hole in the first stage can not be measured with calipers and depthcaliper.
φ40 hole of the second stage is also can not measuer with a caliper.
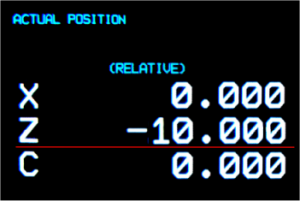
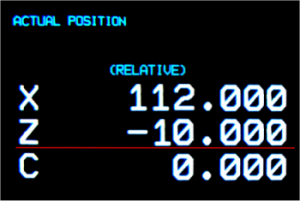
Therefore, as shown in the figure, measure the depth measurement with "point finder L"given a long stylus.
 | |
 |
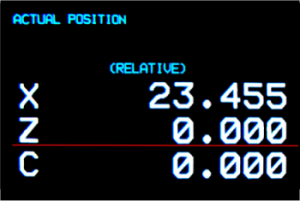
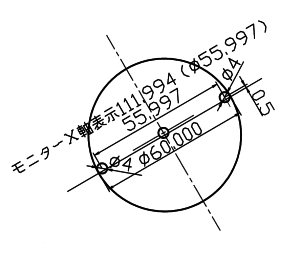
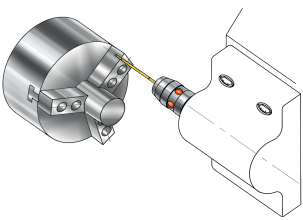 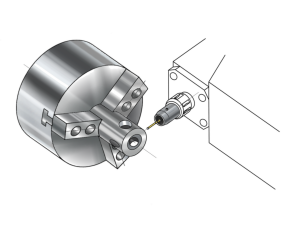 Please use it to check the precision of NC lath turning C axis |
Product Specifications
| Point Finder L (external contact method) | |||
|---|---|---|---|
| Model | Stylus | Shank | Specification |
| S10WPL ST-4×40NM付 ST-4×80NM付 |
φ4×40L φ4×80L |
φ10 | Lithium battery BR-435(1) |
| S20WPL ST-4×40NM付 ST-4×80NM付 |
φ4×40L φ4×80L |
φ20 | Alkaline battery LR1SG-2BHD 2 |
| S32WPL ST-4×40NM付 ST-4×80NM付 |
φ4×40L φ4×80L |
φ32 | Alkaline battery LR1SG-2BHD 2 |
| Point Finder L-i (Internal Contact Type) | |||
|---|---|---|---|
| Model | Stylus | Shank | Specification |
| S10WPL-i ST-4×40NM付 ST-3×29NM付 |
φ4×40L φ3×29L |
φ10 | Lithium Battery BR-435(1) |
| S20WPL-i ST-4×40NM付 ST-3×29NM付 |
φ4×40L φ3×29L |
φ20 | Alkaline battery LR1SG-2BHD 2 |
| S32WPL-i ST-4×40NM付 ST-3×29NM付 |
φ4×40L φ3×29L |
φ32 | Alkaline battery LR1SG-2BHD 2 |
Dimensions
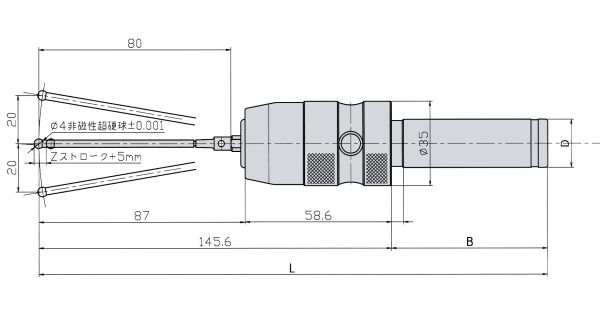
| Model | D | B | L | weight(g) | Battery (included) | Remarks |
|---|---|---|---|---|---|---|
| S10WPL |
φ10 | 46 | 193.6 | 280 | Lithium battery BR-435 1 |
With standard ST-4x80NM stylus External contact method Waterproof |
| S20WPL |
φ20 | 65 | 212.6 | 360 | Alkaline battery LR1SG-2BHD 2 |
|
| S32WPL |
φ32 | 65 | 212.6 | 610 |
Please contact us if you have any hope of not shank size stylus above.
Please contact us in regard price and inventory.
Specifications, dimensions are subject to change without notice.





 Nissin Sangyo Co., Ltd. ―Measuring Instruments for The Machine Tools―